The Whiskey Vault

The Whiskey Vault
This year's Whiskey Vault outing with Texas Auto Writer Association buddies in Austin for the Texas Truck Rodeo.

Thursday, October 22, 2015

Definition of a Great Trip to California: Wheel Time in the Redesigned Honda Civic and Two Bottles of Slow Hand Six Woods Whiskey!


I'm not the kind of guy to hold a grudge. Well, not usually. There is that kid who sucker punched me in second grade over some sort of playground teeter-totter dispute. If I ever run into her again, she'll get a stern talking to. But, generally, I try to look ahead and not into the rearview mirror. So when, after years of not being invited to Honda media-launch events, Honda did include me in its recent media first-drive of the Civic in the Los Angeles area, I jumped at the opportunity.

Of course, the decision to accept was made easier because Honda headquartered the event in Westlake Village where I had been in July with Mazda. On that junket, my driving partner and I located several nearby craft breweries, as well as Wade's Wines – one of the best liquor/wine stores I have visited. Since my Mazda-sponsored trip, a Greenville friend had turned me on to a hard-to-get spirit distilled in the Los Angeles area called Slow Hand Six Woods Whiskey. I figured if any liquor store would stock it, it would be Wade's Wines. Not to mention this is the same store where I scored two 22-oz. bottles of Belching Beaver Peanut Butter Milk Stout that I carted home in my luggage the last time around. 


Honda put us up at the Westlake Village Inn on Agoura Rd. It's an upscale joint with a spa, golf course and lake. A gorgeous property with spacious, nicely furnished guest rooms, West Lake Village Inn is just a mile or so distant down Agoura Rd. from the aforementioned Wade's Wines. I arrived in my room in plenty of time to grab my camera and embark on a little hike to Wade's before getting ready for dinner. After sitting on a plane for several hours, I needed the exercise.

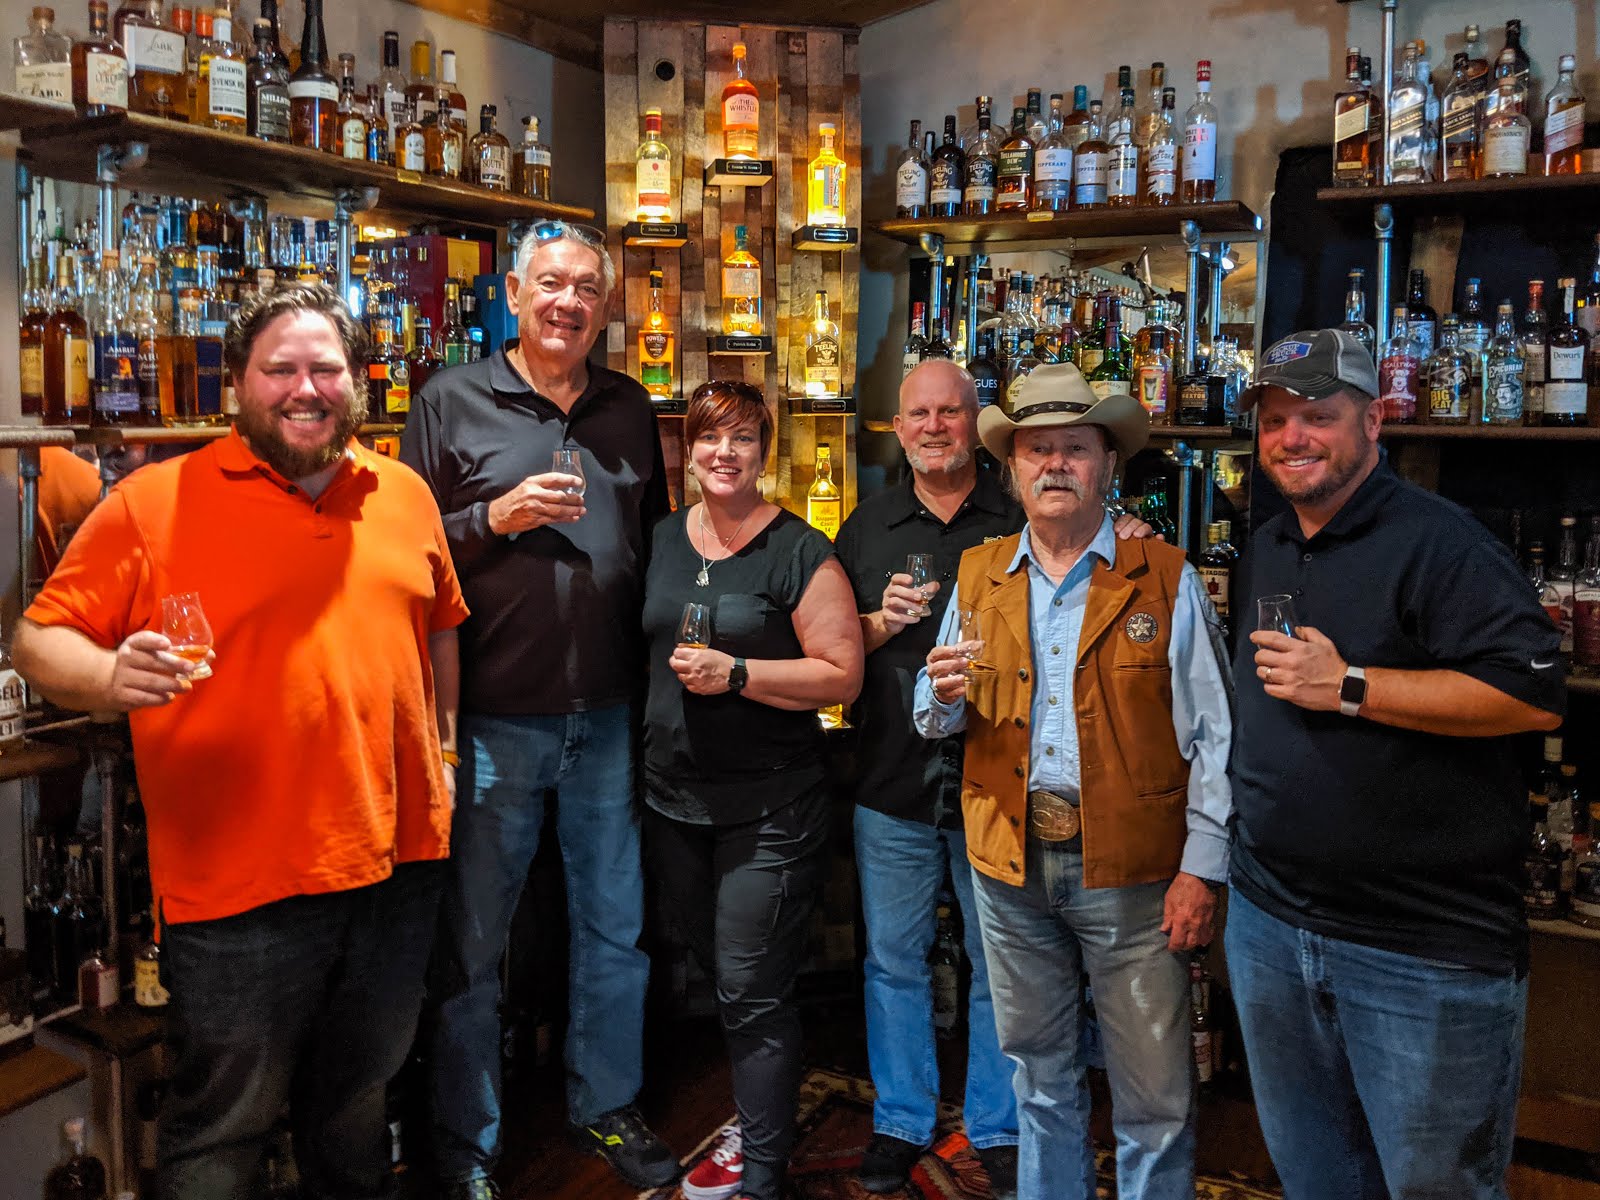
Arriving at Wade's, I scoured the shelves of bourbons and whiskeys in a futile search for Six Woods. Eventually one of Wade's helpful experts came to my rescue. Unfamiliar himself with this hard-to-get elixir, he looked it up on the store's computerized inventory. Deciding two bottles were hidden away somewhere among the displays, we played “where's Waldo” for another five minutes before he returned to the computer. This time, he went to a search engine, typed in the whiskey's name and found images for the labels. With a knowledge of the label design, finding the elusive bottles required less than a minute. Deciding that I wanted one bottle, I called my Greenville buddy to see if he wanted the other. Why, yes, yes he did.

Wandering back into the beer section, I found a few 22-oz. bottles of my beloved peanut butter stout of which I captured two. Now I was in a quandary. I had enough bubble wrap and space in my suitcase for two bottles of something, but not four. My helpful Wade's counter person to the rescue. He suggested I buy a three-bottle shipping container and put it on the plane as checked luggage. Problem solved. Now all I had to do was lug the packed shipping container and remaining bottle of beer back to the hotel. I considered calling Uber; however, Wade's is not on the street proper, but actually about a city block off of it. I had no confidence the Uber driver would find it. So, I hoofed it back, struggling with my load of goodies. Checking the shipping container as luggage was a fine idea; everything arrived home in mint condition.


I arrived back at the hotel in plenty of time to quaff a couple of beers with some of my buddies who had driven that day and were waiting for their shuttles to the airport. This was one of those one-and-done, arrive-one-day-and-leave-the-next trips. I'm not usually keen on such overnighters – particularly when in Calif. – but it was what it was. Either I was going or I wasn't. Full disclosure: Honda provided an option in my time zone, but I went with Calif. Mea culpa.

Dinner that evening was at the hotel. It was casual and the food was pretty good. After breakfast the next morning, we media types were given a 90-minute tutorial on the redesigned Civic. Honda knows a little about building and selling Civics. More than 10 million Civics have left U.S. showrooms with more than 35 million sold worldwide. Seven million of the 10 million-plus Civics sold in the U.S. were built in the the U.S. 

Four decades of Civic.
The original Civic sold here was a 1973 model with the second generation following in 1980. The 2016 will be the 10th generation. To say its exterior lines are stunning doesn't do it justice. This sedan, designed in Calif., is drop-dead gorgeous. But, it's not just a pretty face. Honda is calling it the most ambitious Civic remake in its history. Rather than benchmarking other cars in Civic's segment, planners and engineers targeted European performance sedans. In areas of acceleration, fuel economy, handling, noise and vibration and safety, among others, Civic stalks the best Europe has to offer.

Two new powertrains provide the go. LX and EX grades get the 158-horsepower 2-liter four-cylinder engine; while the upper three grades – EX-T, EX-L and Touring – get a tasty174-horsepower 1.5-liter turbocharged four-cylinder. A CVT hustles engine output to the front wheels of all but the $18,640 entry-level LX 2.0L version, which uses a six-speed manual. Remarkably both engines deliver 35 mpg in combined city/highway driving, except with the manual tranny which drops that number to 31 mpg.

Its most tricked-out Touring trim starts at $26,500. Honda doesn't really offer options. To gain content, you move up to the next grade. So, $26,500 is about as much as you can spend. Our turbo was not only fun to drive, but it was quiet and smooth as silk. 


Offering scads of elbow room, the cabin is spacious and its premium materials provide the illusion of a much more expensive four-door. And, its trunk has as much cargo room as a Jaguar XJ sedan. Every Civic comes with such features as remote engine start, dual-zone automatic climate control and rain sensing wipers. Honda Sensing is corporate speak for its suite of safety technologies such as forward collision warning, lane departure warning and lane keeping assist, and road departure mitigation. It is available on even the entry-level LX grade. No question, in the Civic, Honda has raised the bar in the compact-sedan segment.

This is what a Pinewood Derby loser looks like.
Our drive route took us to Malibu Wine's Saddlerock Ranch where we lunched from several food trucks. Not only could we drive the new Civic on a route near the lunch, but some competitive models were also available. Otherwise, we amused ourselves building and racing some Pinewood Derby cars as well as playing some other games. If you are curious, my Derby entry was a real dog. Moral: Never compete in a Pinewood Derby against auto engineers determined not to lose. 

I certainly can eat and drink $29 worth of free stuff in seven hours; I've seen me do it!
My red-eye flight home wasn't until around 11:30. Honda shuttled me to LAX at 4:30. Wow; seven hours to burn! I wandered into Delta's Sky Club to inquire about the number of Sky Miles needed to buy a day pass. I was shocked to learn Delta doesn't accept miles for day passes. No way was I going to pony up $50 to buy one. I can eat and drink a lot of free stuff in seven hours, but not $50 worth. Then the Sky Club desk agent said the magic words, “American Express.” Turns out my Delta AmEx card was good for a $21 discount. Now, $29 is a number I can work with.

Sixteen hours after Honda dropped me off at LAX, I landed home in Greenville, SC, reminded of why I'm not a fan of one-night car events in Calif.

Tuesday, October 13, 2015

I Am Flush With Excitement: A New Guest Commode!

I am king of all I survey from my lofty perch atop this, the Hope Diamond of commodes.
 
I'm not the kind of guy who gets all giddy over something as mundane as a new commode; but when replacing the old one requires as much effort as my recent encounter with the guest-bathroom toilet did, I think I was entitled to a certain sense of achievement as I settled onto it with a sigh for its maiden cruise.

The silly thing had been running for two weeks and I was weary of listening to it as I worked at my desk. When at my PC, I look directly into the guest bath when I turn my head to the left. I had been busy and just didn't feel like dealing with it. Besides, my master bath upstairs was (and remains) in complete disarray because I have an unfinished remodeling project ongoing in that section of the house. While that's been underway, I've been sleeping in the guestroom, and utilizing the guest bathroom for showers and personal-biological imperatives. The potty in question was a squat, round thing that I had wanted to replace since buying the house. Rather than just replace the guts in the tank, I decided this was the time to switch out the whole Magilla. Silly me.

No, replacing the old commode didn't measure up to curing cancer or surviving a climb to Mt. Everest's summit and back, but changing it out wasn't nearly the walk in the park the DIY videos on YouTube portrayed it to be. Not even close. Not even in the same ballpark. Not even on the same planet.

At the heart of the matter is the same issue as with nearly every repair or home-improvement project I tackle: This house is over 60 years old. Even if lurking around every DIY corner wasn't some half-assed, jerry-rigged, messed-up bit of amateur workmanship that must be dealt with, home building six decades ago was much different than now. The cement board/plaster walls, 60-year-old wiring and one-step-up-from-outhouse plumbing all conspire to add hours and extra expense to even the simplest of chores.

I went to Home Depot (the first trip for this project) and found a perfectly acceptable chair-height, elongated crapper for $98! I was ecstatic. This isn't going to cost much at all, I thought to myself as I wallowed in my ignorance. I was driving a Fiat 500X that week, which has a cargo area roomy enough to cart home my new acquisition still in its carton. Manhandling it up into the cargo hold was a chore, but doable. Arriving home, I left it in the car and headed in to begin taking out the old throne.

From the get-go, I am not keen on any task requiring me to enter the dark, mysterious confines of my home's crawl space. But, I was forced to when I couldn't complete every DIY toilet-replacement video's Step No. 1: Closing the shut-off valve controlling water flow into the toilet tank. The knob would turn, but nothing happened. Under the house I went to stop the water flow at its source.

As these nasty areas go, mine is sort of the Taj Mahal of crawl spaces. The floor is covered stem to stern with a thick layer of visqueen. It seems both water and critter tight. I can bend a little at the waist and maneuver around freely. The main water-line shut-off valve is just to the right of the crawl-space entrance, which is located inside my house. So, it's not quite as nasty as I make it out to be, but it's still a pain to climb down in there.Not to mention that I think I can sense little beady eyes looking at me.

With the main water supply into the house turned off, I went about emptying all the water from the tank and disconnected the water line. Removing the tank from the seat, I started to think the worst was over. I decided to head to Home Depot and purchase a new shut-off valve. HD trip No. 2. Oh, but first I needed to wrestle the carton with the new toilet out of the car and onto my carport.

Back home, I was ready to move forward. Now all I had to do was free the nuts holding the bowl to the floor via a bolt on each side of it. At least that's what the DIY videos showed. Yeah, not so much. This bowl wasn't attached to the floor by bolts sticking up, but had been secured by sinking screws into the floor. What? The screw on the left side broke free easily; however the one on the right was frozen solid. After 10-or-so minutes of trying to break it lose, I hiked out to my shed and got a small sledgehammer. I broke the bowl base into pieces and then removed the screw. I then hefted the bowl off the drain.

If you've never replaced a potty, you might be surprised to learn that once you pull the bowl lose from the floor, you are left with a big, waxy mess. A time-honored way to keep sewer gasses from escaping into the air is by inserting a wax donut that's roughly 2-inches thick between the bowl and the drain pipe. It's sticky and just plain nasty. All of that muck must be cleaned up before moving on to the next step of the installation.

At this point in a normal installation, I would have been home free. According to the DIY videos, all I needed to do was insert a new wax ring around the drain, push the bowl down on top of it, put the nuts on the bolts on either side of the bowl and connect the tank. I had now been messing with this for about three hours and had yet to remove the new toilet from its carton. But I thought I might be on the home stretch. Boy, do I crack myself up.

But wait, there weren't any bolts to slide the bowl over and tighten it to the floor. Around the rim of the drain, there should be a flange to which those bolts are attached, and that flange was missing. It had been cut off and removed. Whoever installed this toilet simply put the wax donut on the floor, pushed the bowl down on top of it and screwed the bowl to the floor. I could have saved myself some money and a lot of time had I just done the same thing. But, hey, this is my house and I wanted a cleaner job. Back to YouTube to find a video with ideas of how to handle things if the flange is gone. 

The shiny new replacement flange in place, but not secured to the floor.
It turns out that a broken or missing flange isn't an uncommon problem. They make replacement flanges with those upright bolts that fit down into the drainpipe and can be screwed to the floor. Trip No. 3 to HD in search of a replacement flange. Home Depot had one that looked as though it would work. So far, in addition to the cost of the toilet, I had spent nearly $20 on the new shut-off valve and 12-inch connection hose and another $20 on the replacement flange. My time invested in this project was fast approaching four hours and the new commode was still in the box.

Returning home with my purchases, I looked at the clock and realized it was 6:30. The main water line was still off, I needed to install the new shut-off valve, get a shower and get something going for dinner. Getting a water-tight seal where the shut-off valve connected to the water line required two or three tries and a couple of return trips to the crawl space turning the water on and off. Finally around 7:00, I was ready to call it a day. But wait, the new toilet was still sitting on the carport in its box. Nuts. I had to open the box and remove the tank to make it light enough that I could wrestle the box up the steps and into the house.

A trip to Calif. with Honda and a couple of assignment deadlines prevented me from returning to this project for a week, during which I navigated around the commode carton in the middle of my dining area. It did give the cat something different to sleep on; so, at least she was happy.

Returning to this task, the first thing to do was to secure the replacement flange to the floor. In this bathroom the floor consists of small mosaic tiles over a concrete slab. Sinking screws into the floor would require a drill bit engineered specifically for tile. Trip No. 4 to HD. I found a pack of tile bits in four sizes for $10. I mounted the appropriate one in my drill and proceeded to drill the first of four holes. There was a lot of racket, a little dust and even less of a hole. The bit was completely burned away and I had little more than a dimple in the tile. Okay, plan B would be using a hammer and chisel to chip away all of the tile where the screws would go. I drew the outline of the flange on the tile with a Sharpie and started chipping away.

An hour later, the flange rested on the tile, but the screw holes were suspended over bare concrete. Now I needed a concrete drill bit and concrete screws. Trip No. 5 to HD.

Drilling the holes and sinking the concrete screws went fairly smoothly. The flange was squared up to the the back wall and secure. But there were some fairly wide spaces between the flange and the tile in places. I didn't want to get the new throne installed only to discover some sewer gas was leaking out. Trip No. 6 to HD was to buy some $5 foam sealant like you put around doors and windows. You spray it in and it expands creating an airtight and watertight seal. I applied it, wiped away the excess and let it cure for 24 hours.

While buying the sealant, I also spent $9 for a cleaner solution to the wax donut. I think there is still wax involved, but it's contained in a rubber skin. Fitting over the two bolts the bowl attaches to, it slides down into and over the flange.

Finally, after seven or eight total hours of labor, it was time to remove the new toilet from its box. Excitement was running high at Casa de Heaps. I slapped the bowl down over the bolts and worked it around a bit to flatten the rubber/wax donut. Tightening the wing nuts over the bolts, I realized the bowl wasn't flush with floor. It was a little uneven, rocking back and forth a bit. Trip No. 7 to HD was to buy some shims to level things out. Eventually the bowl was secure to the floor. A quick check with the level assured that I would list neither to starboard nor port when in a seated position. Dumping a couple of buckets of water into the bowl, I was pleased to see there were no leaks.

I fitted the tank to the bowl and bolted it on. Now it was just a matter of attaching the line running from the shut-off valve to the tank. Dammit. Too short. The instructions called for a 12-inch line, but that didn't account for the extra inch this toilet sits away from the wall. The typical distance is 13 inches; here it's 14 inches. Trip No. 8 to HD was to exchange the hose for a longer one and to buy some caulk to seal the space where the bowl joined the floor.

Ready to go, I pressed the flush button. I swear I could angels singing.

Hours of work, roughly $60 in installation parts and more cussing than I've done since erecting my shed, but it was worth it. It's my home's showplace.